HaPpY hAlLoWeEn (AgAiN) !!!!
Since today is Halloween and everyone is wondering how to make tonight's dinner more special (okay, so the little ones don't need anything more to make today special, but I think adults might like a treat that is more substantial than the candy they snitch from the loot bags). Here's a treat you'll never forget, and it's so much easier than making a pie (that phrase "easy as pie" never really made sense to me because pie is quite challenging to make). In my previous post I mentioned that the cookies lacked the strong pumpkin flavour I was craving, so off I went to find a recipe that would include pumpkin and satisfy my desire. I love Crème Brûlée (especially my brother's Christmas Crème Brûlée), so why not Pumpkin flavoured? I've sampled Bailey's, Cranberry, Rhubarb, Vanilla, and Strawberry versions, so pumpkin seemed like a logical direction to go. This one is delicious, it really tastes just like a pumpkin pie, but without the crust.
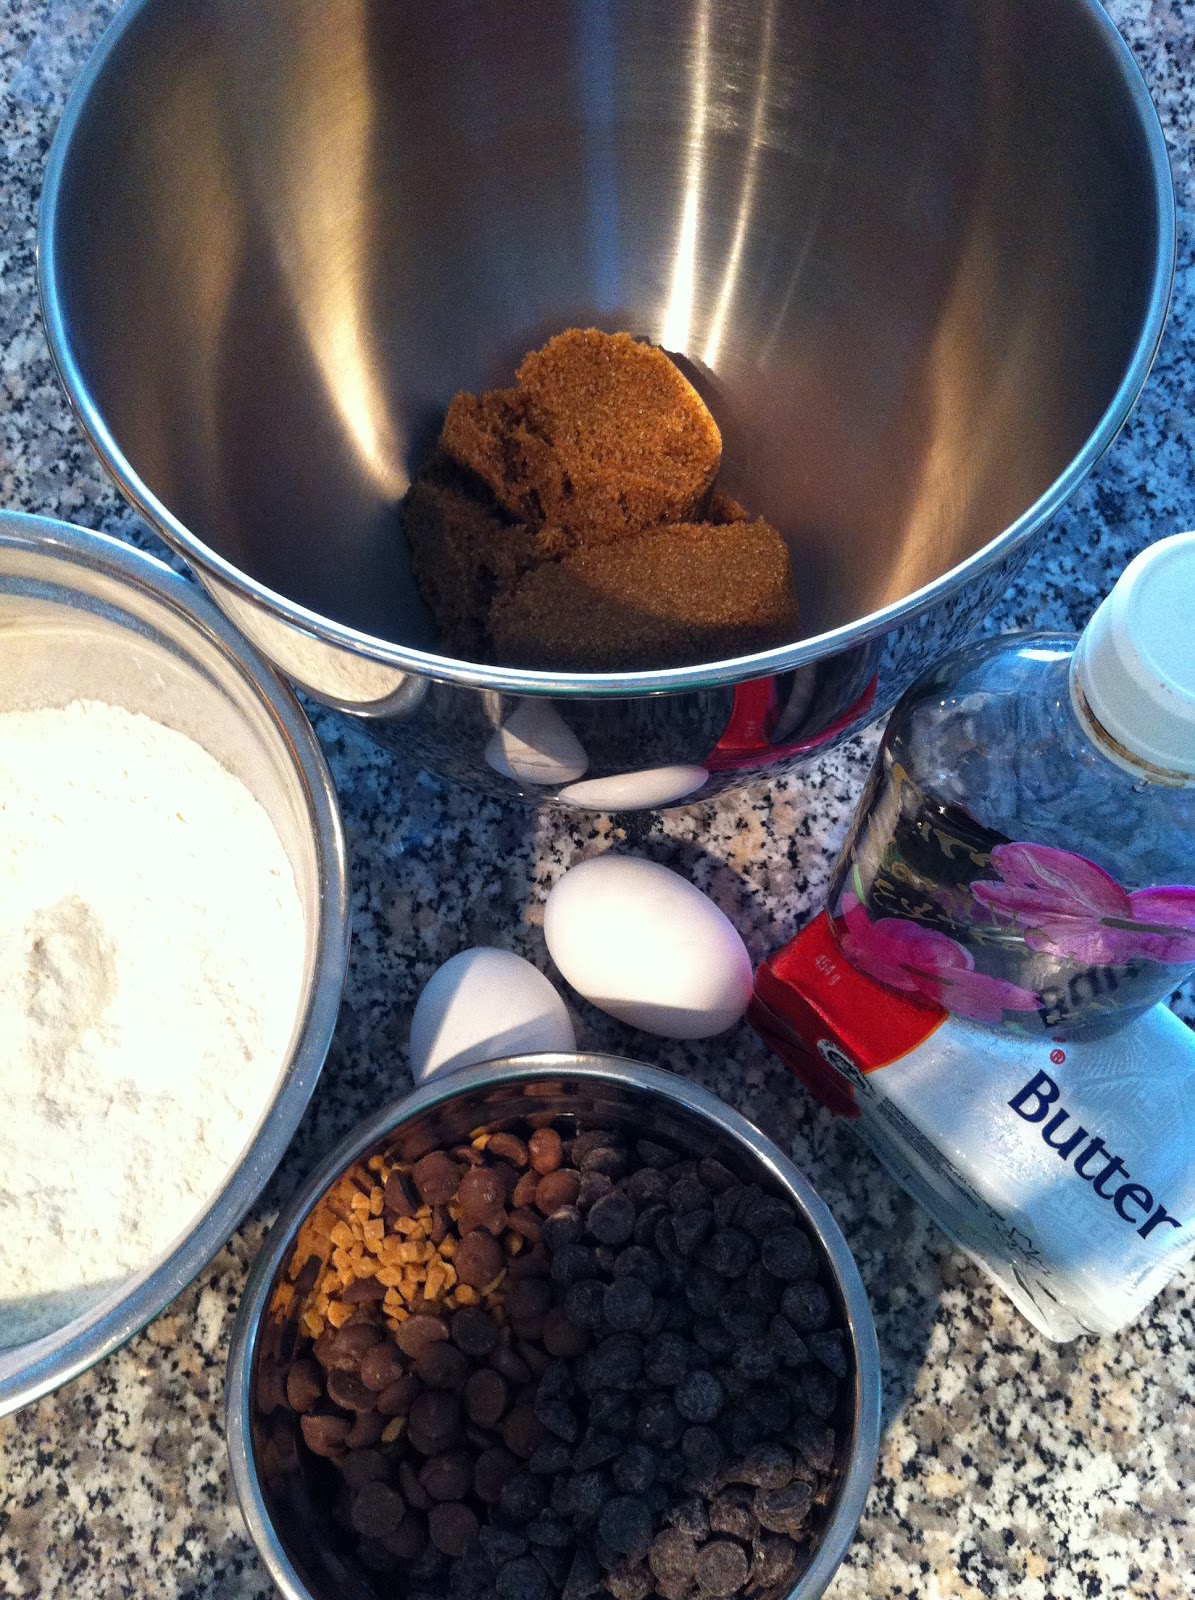
Here's what you need:
 |
| The Players |
1/2 cup brown sugar
1 cup heavy cream (I used half-and-half)
1 cup pumpkin puree
1/2 tsp. ground allspice
1/4 tsp. ground cinnamon
1/4 tsp. ground nutmeg
1 pinch salt
Boiled water
1/2 cup white sugar (reserved)
1. Preheat the oven to 325°F. and boil the kettle.

2. Whisk egg yolks and brown sugar together in a bowl.

3. Stir in heavy cream, pumpkin puree, spices and salt.

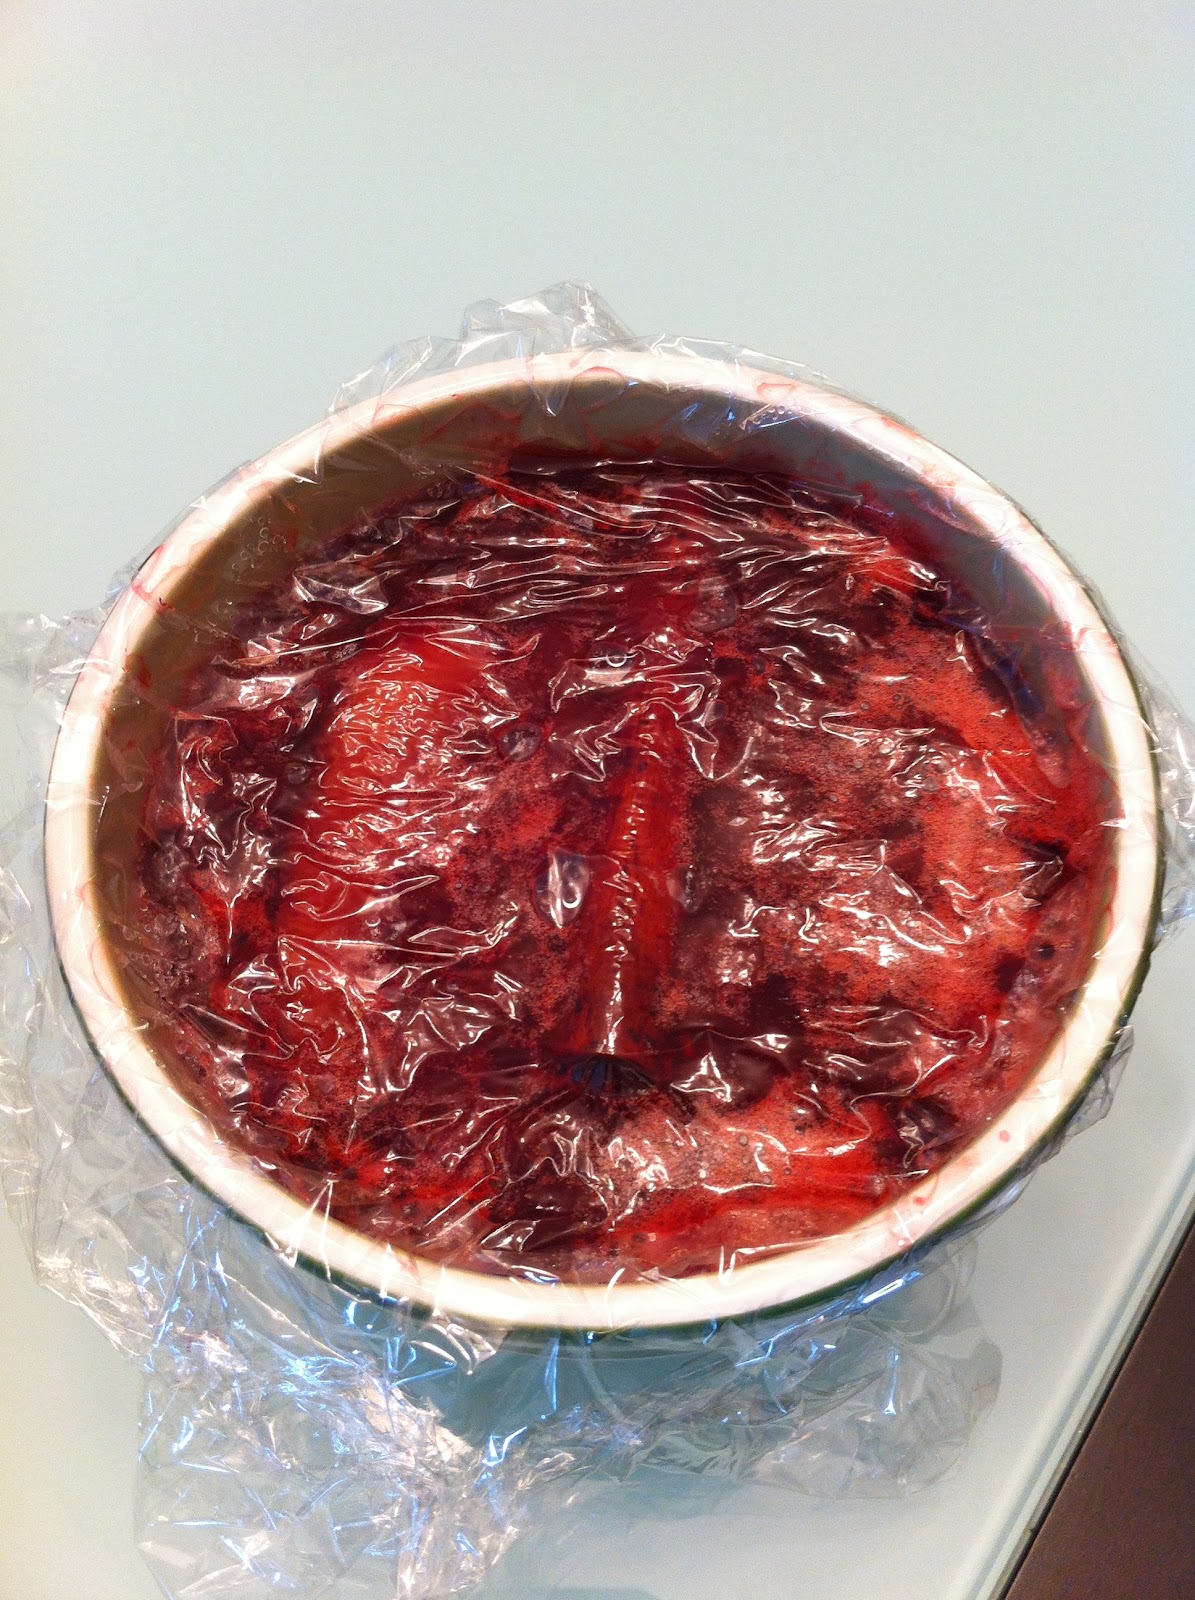
4. Divide pumpkin mixture between six ramekins, leaving about a 1/2 inch at the top. (Depending on the depth and size of your ramekins you might need to use more.)
5. Place the ramekins in a baking dish (I use my roasting pan), and fill the baking dish with the hot boiled water until it reaches about half way up the sides of the ramekins.


6. Bake in your preheated oven for about 30 to 35 minutes, until set. Remove the ramekins (put some elastics on the end of your tongs).

7. Refrigerate until completely cool, at least 2 hours.

8. Once cool, sprinkle about 1 tbsp of sugar onto each Crème Brûlée and spread it around until the top is entirely covered. Melt the sugar with a chef's torch until the sugar melts and is crisp and brown (about 1 to 2 minutes).

9. Allow to cool slightly, and serve. Garnish with a dollop of whipped cream if you wish.
I can sense you asking some questions. Let me field some of them to help you out.
Q. What do you mean set?
A. When a custard is set, it means it is cooked.
Q. How do I know when my Crème Brûlée is set?
A. This one is a little tricky, but in general Crème Brûlée custard doesn't usually set during cooking, it sets as it cools. Refrigeration is typically required to get it to completely set.
Q. My oven is a little wonky with its temperature, how can I tell if they are ready to come out?
A. The Better Homes and Gardens New Cook Book states that "to test the custards for doneness, insert the top of a table knife into the center of each custard. The knife will come out clean if the custards are fully cooked." I did not use this method, but I wish I had known about it when I made this recipe.
Q. There is a lot of liquid that seems to have separated out of the custard, what does that mean?
A. It means that you over baked it.
Q. When I dig into my Crème Brûlée, I notice it's not smooth, why is that?
A. I don't believe this one is supposed to be smooth. Pumpkin is clumpy and stringy, so I think it is supposed to be the consistency of cooked pumpkin pie filling.
Q. I don't have a chef's torch to make the sugar topping, should I skip that step?
A. NO. It just won't be a Crème Brûlée without the crunchy sugary topping.
Q. What can I use to get the caramelized topping if I don't have a chef's torch?
A. If you don't have a torch, simply put the sugar on the ramekins as instructed and place them on a baking sheet. Make sure the rack in the oven is all the way to the top closest to the broiler and turn on the broiler. Once the oven is preheated, put the baking sheet with the ramekins in on the top rack. Keep checking on the ramekins to see when they will be done, it is okay to continuously open the oven. Remove baking sheet and let it cool in the fridge before serving as the ramekins will be hot and Crème Brûlée is typically served cold.
This is a good recipe because you can make it the day before (if you to make sure you plastic wrap the ramekins) and finalize it with the caramelized sugar just before serving.
Enjoy!
Mel